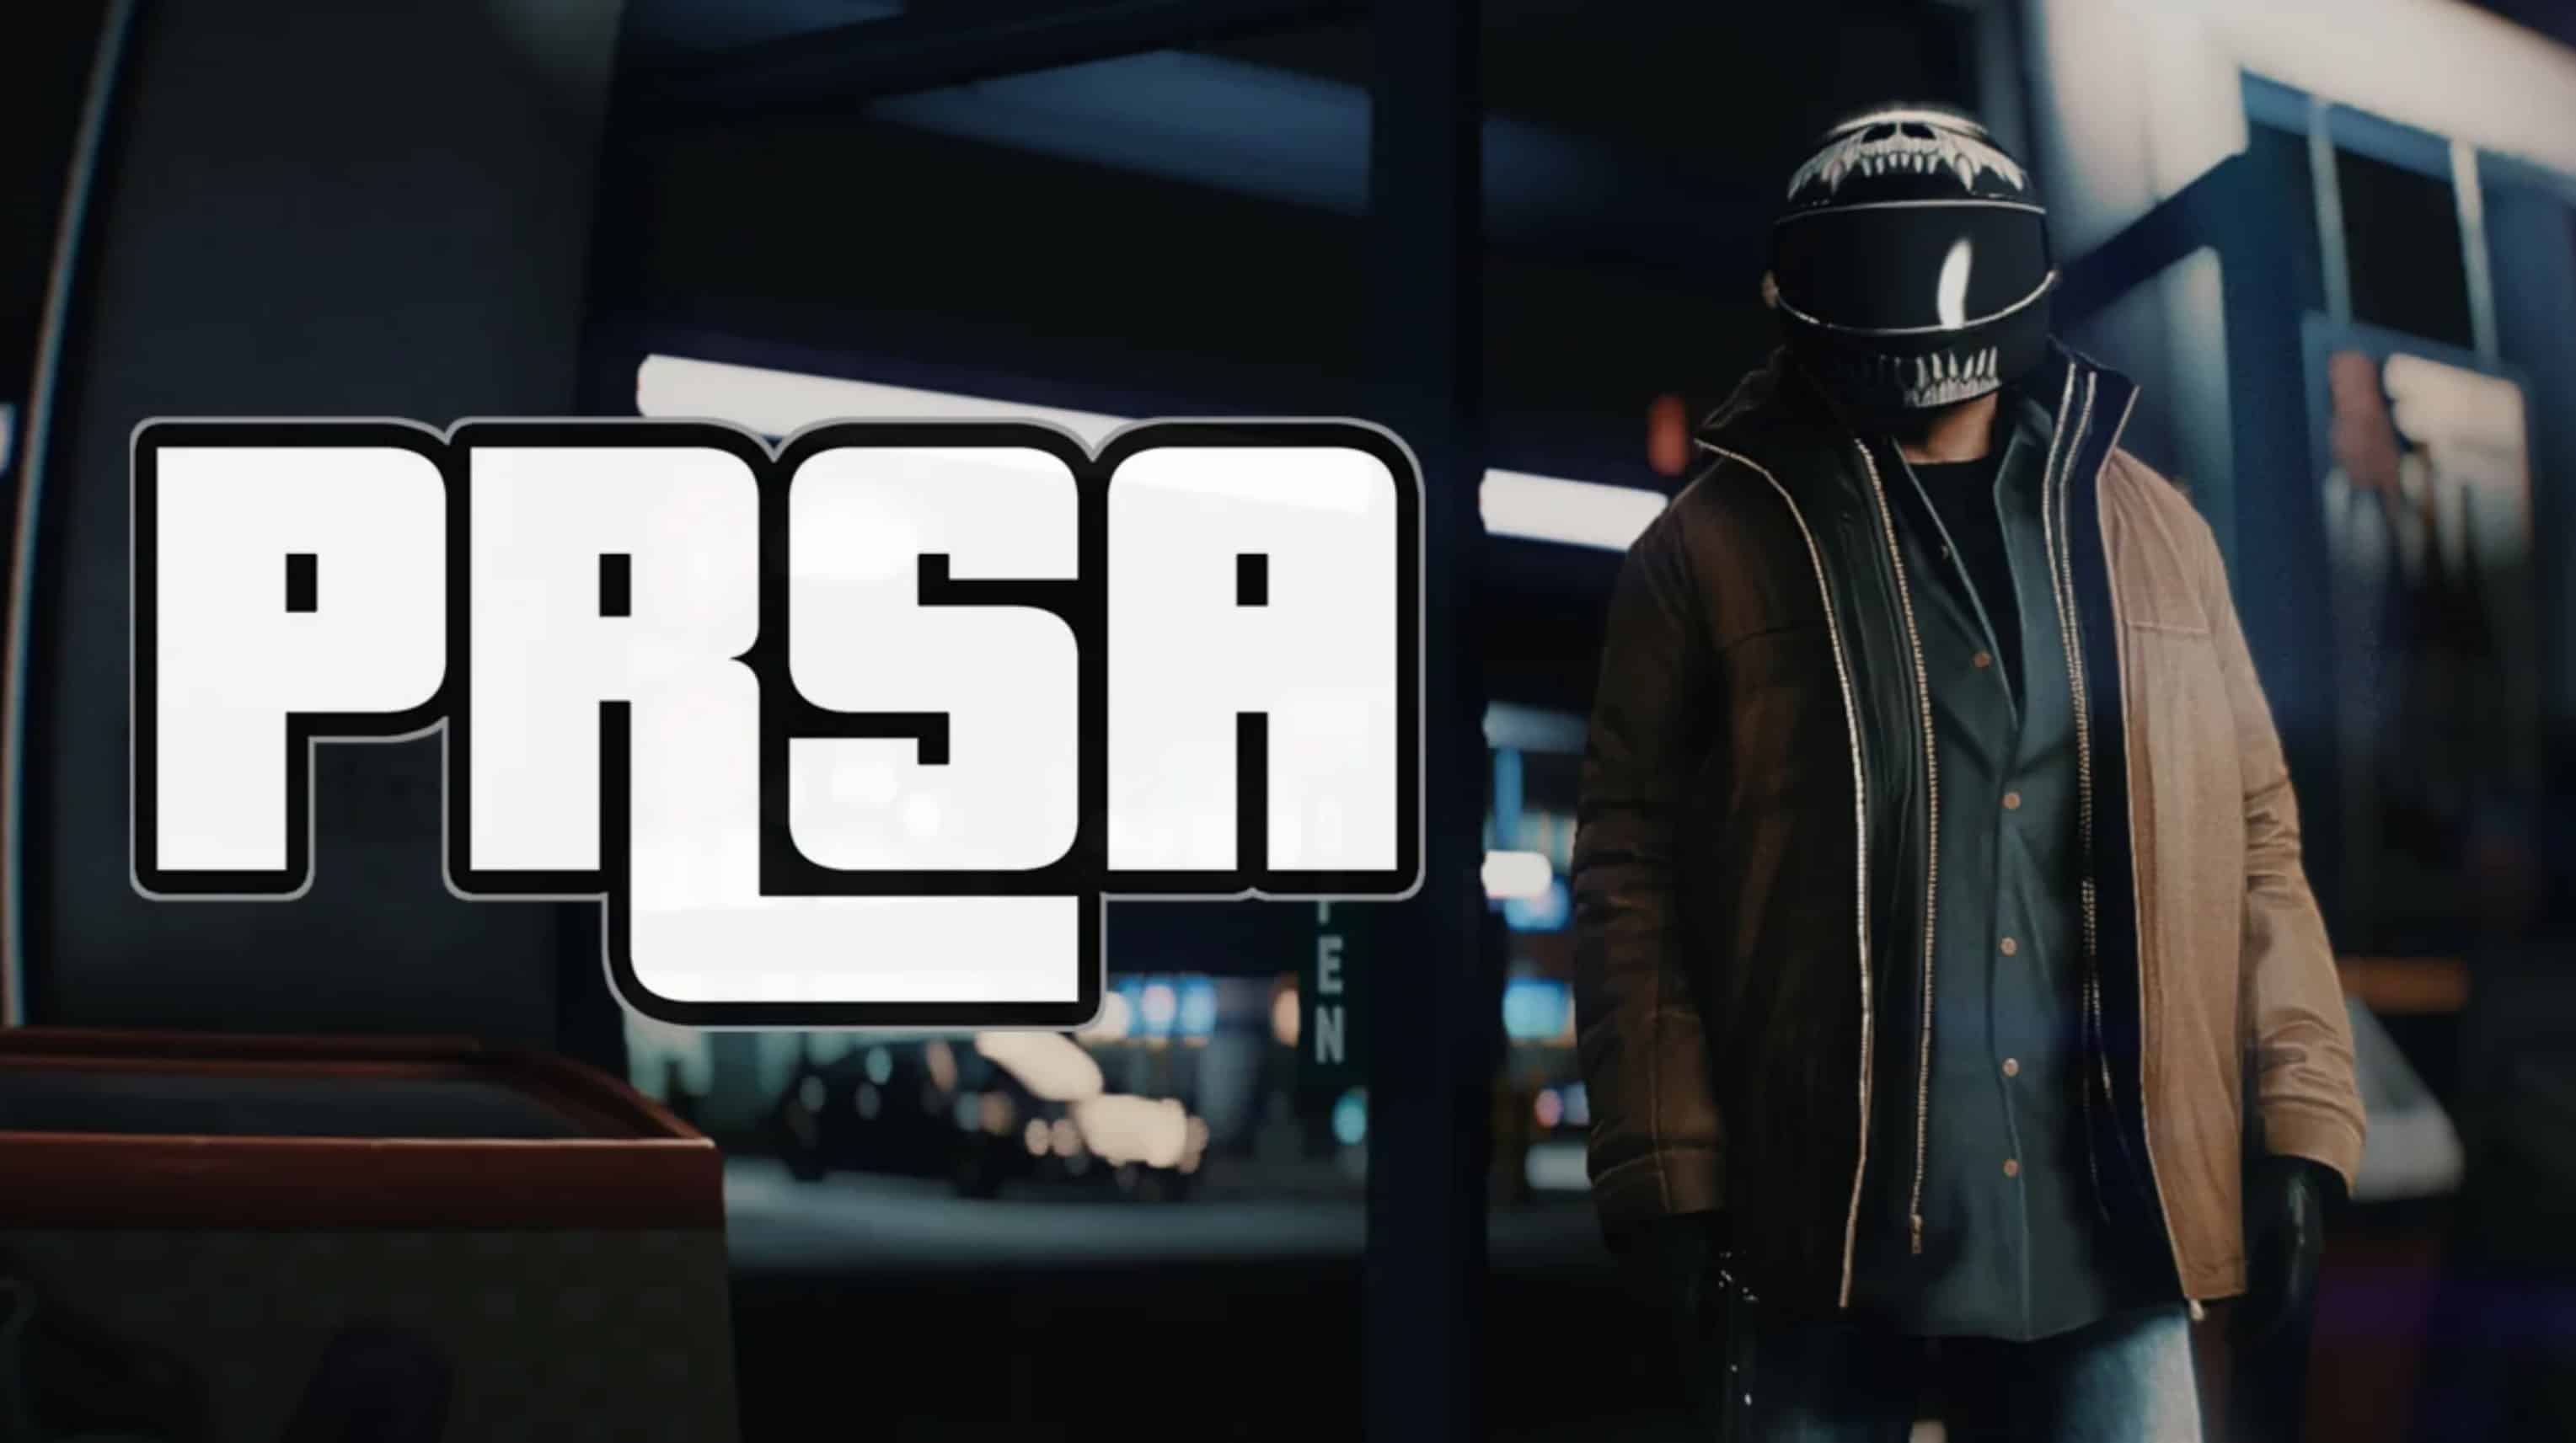
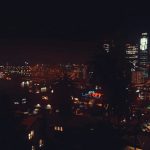
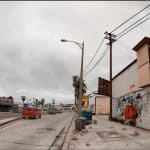
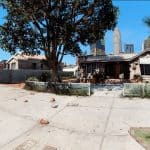
PRSA – PhotoRealistic San Andreas ENB 2.0
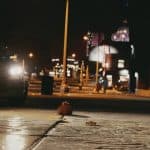
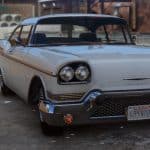
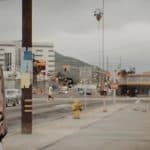
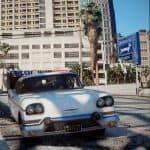
PRSA ENB is an all-in-one and sophisticated visual enhancer, compatible with all weather and lighting mods, using custom shaders to offer the most natural and realistic visuals possible as a base to emulate photograph & movie pipeline.
Endless different looks possible using accurate reproduction of cameras, films, colorgrades and postprocessing.
INSTALLATION :
– TO MAKE SURE PRSA CAN WORK PROPERLY:
– First always uninstall your current ENB or Reshade files and folders !
– Be sure not to use any of NVR and VisualV TimeCycleMods.asi & .ini addons as they are not compatible with current ENB binaries. Same problem with any other mod that could modify this files.
– RageHook doesn’t seem to be compatible with current ENB dlls.
– Disable the frame scaling advanced option and use a game’s post-processing
option set at least to VeryHigh, else the ENB dll won’t be able to work.
– disable the Display/Screen Kill effects if you experience dark screen effect during shootout.
TO INSTALL PRSA:
1: Download the latest ENB binaries (dll) from the official website:
http://enbdev.com/download_mod_gta5.htm
2: Open the enbseries_gta5_vX archive :
drag only d3dcompiler_46e.dll and d3d11.dll in the GTAV root folder, next to the game’s exe.
3: Extract the content of PRSA MAINFILES in the GTAV root folder, next to the game’s exe and the two ENB dlls.
4: Optionally install one of the PRESET EXAMPLES
TO CONFIGURE PRSA:
The ENB menu is toggleable with the END key.
If it doesn’t work then delete enblocal.ini and use Shift+Enter.
Please refer to the built-in tutorial for anything else.
Remember to set the proper Visual Mod you use in the ENB as explained in the tutorial screen and use only one weather mod at a time !
By default the game is preset for Natural Vision Remastered, which is the recommended weather mod to get the most out of PRSA.
Stock settings can perfectly be used out of the box for gaming. You can also use the Natural-Clean Light preset from the example presets folder.
HOW TO GET BETTER FPS (but lower visual quality):
From left panel of the ENB menu, disable EnableSkylighting and/or EnableAmbientOcclusion.
Remember you can change the DOF quality too, and if you really need more FPS then you can also
disable EnableDepthOfField from the left panel of the ENB menu.
That’s it, Enjoy !
MOD LIST / LOAD ORDER USED IN SCREENSHOTS:
NVR: Natural Vision Remastered (no optional addons)
PRSA: PhotoRealistic San Andreas ENB
CREDITS&THANKS
This release is for personal use only; You are not allowed to sell or redistribute this preset or its files on any platform, neither to reuse and redistribute its shaders, their configuration and settings or the files for your own mods or presets.
BORIS VORONTSOV: Creator of the ENB binaries and author of the original adaptation code. All my respects to him without whom none of this would be possible.
PROD-80: Author of the original RGB color correction and saturation limiter code.
CROSIRE, McFLY, HAWK, GEMFX: Authors of the original codes used in the Camera Settings and Post Processing.
BORIS VORONTSOV: Authors of the original AGCC code.
MARTY MCFLY: Author of the original DOF and Fish Eye code.
WEASELTRON: Original author of the Lens Distortion.
MATSO: Author of the original Chromatic Aberration used in the DOF.
ROMAIN DURA: Original author of blending and Brightness maths.
ROXAHRIS: ENB Port of Martin Grain and Overlay.
SONICETHER, MAXG3D: Author of the original Bloom code.
OHDEER: A couple of frame textures and pretty much all the dirt textures.
KINGERIC: For the help with the LUT atlas.
L00: Original idea, preset configuration and settings, shader setup and tweaks, port and modification of shader code, LUTS and textures, coffee and… everything else.
CHANGELOG PRSA 0.2:
– Lowered few ENB quality settings to maximize performances as much as possible.
– Reworked lighting and skies for Natural Vision Remastered update.
– Reworked vanilla, VisualV and NVR renderer settings.
– Fixed a bug with DOF and set it to medium quality by default.
– Fixed a typo in the tutorial screen.
– Added new folder with example presets.

